How-To Guides · DIY & home
How to Winterize Your Outdoor Faucet (Before the First Freeze)
Water left in an outdoor faucet can freeze, expand, and crack the pipe, sometimes inside your wall. Five minutes before the first hard freeze can prevent it. Here's how.
1. Step 1: Disconnect The Hose
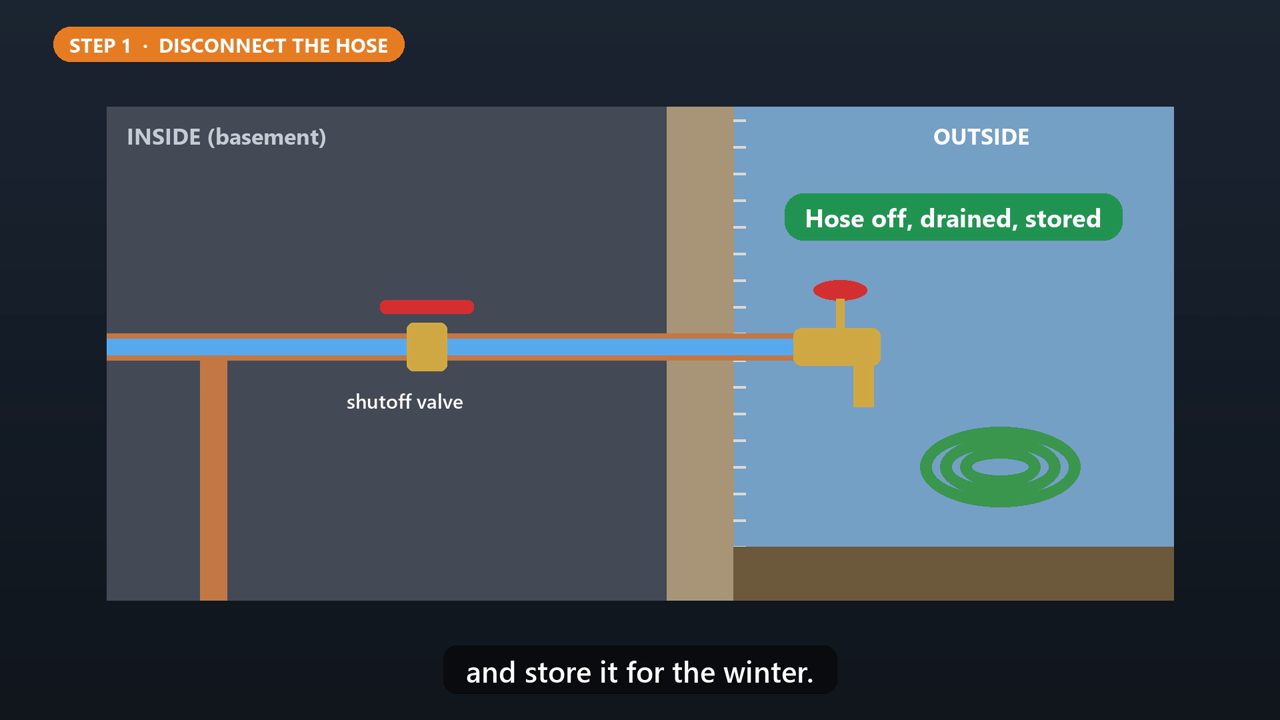
Unscrew the garden hose from the faucet. Drain the water out of it, coil it up, and store it for the winter.
2. Step 2: Close The Inside Valve
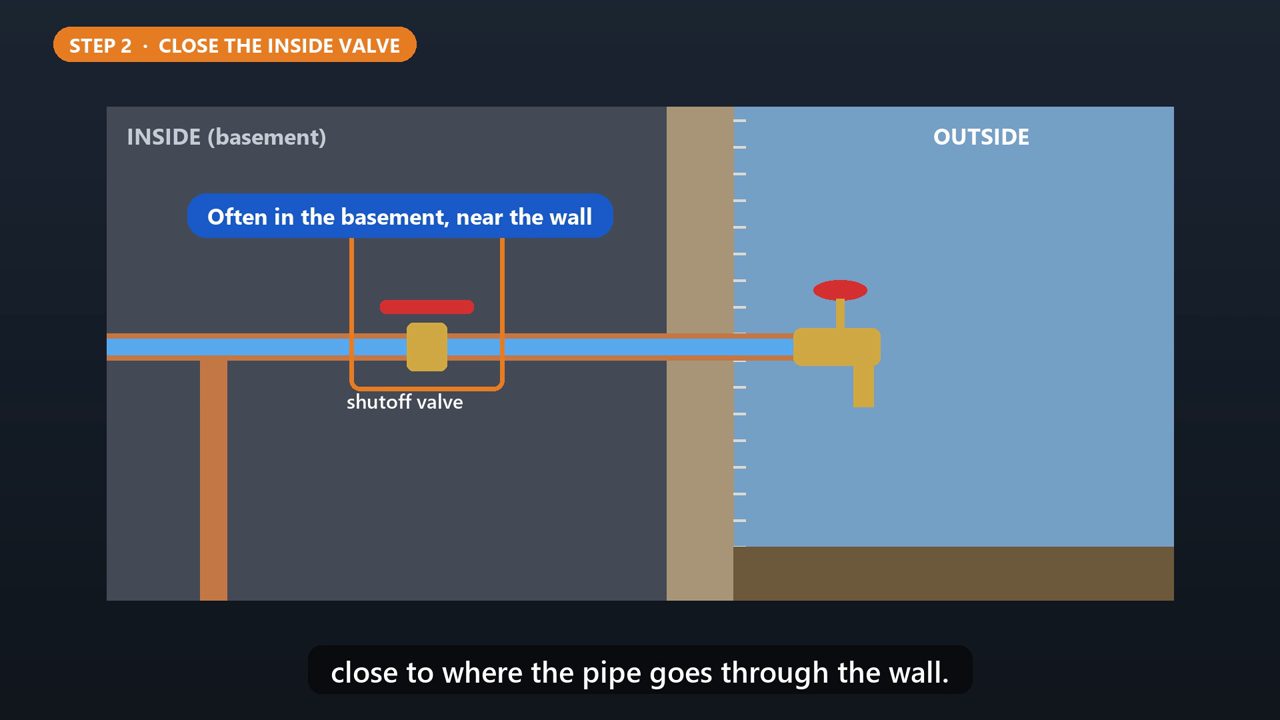
Many homes have a shutoff valve inside, on the pipe that feeds the outdoor faucet. It's often in the basement, close to where the pipe goes through the wall. Turn it off.
3. Step 3: Open The Outside Faucet
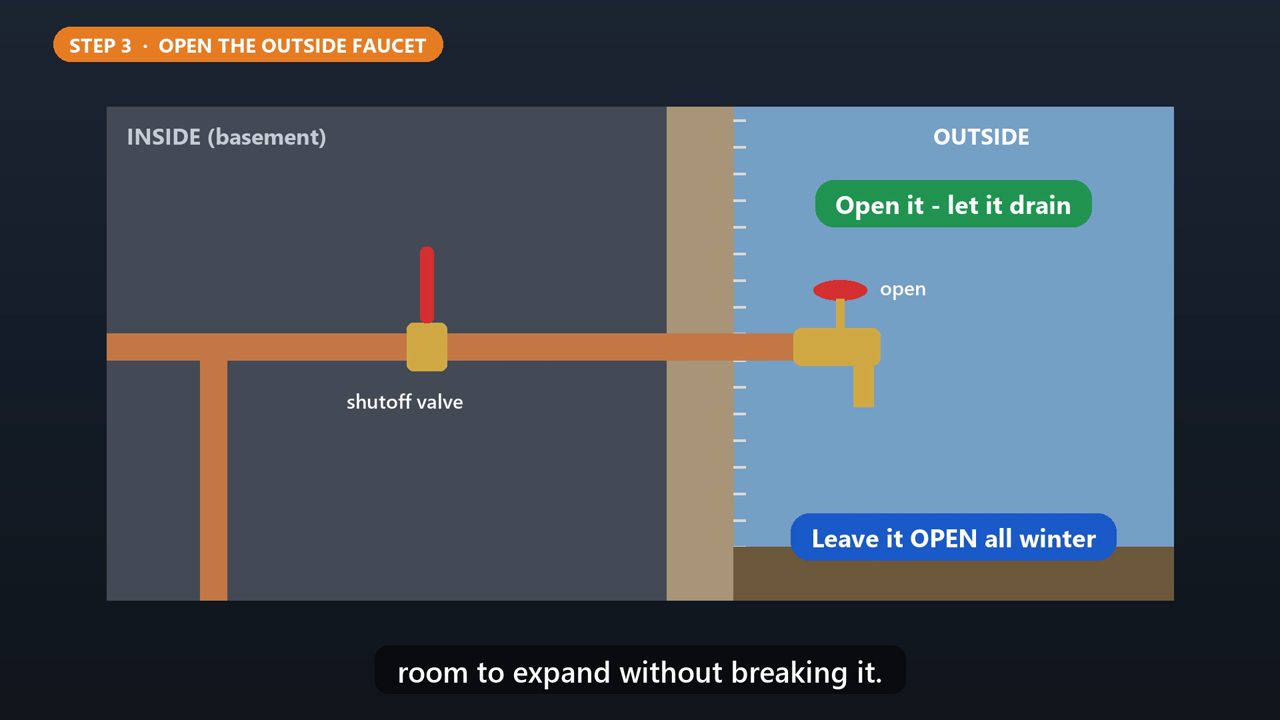
Now go outside and open the faucet. Let the water drain out. Then leave it open for the winter, so any water left in the pipe has room to expand without breaking it.
4. Frost-Proof Faucet?
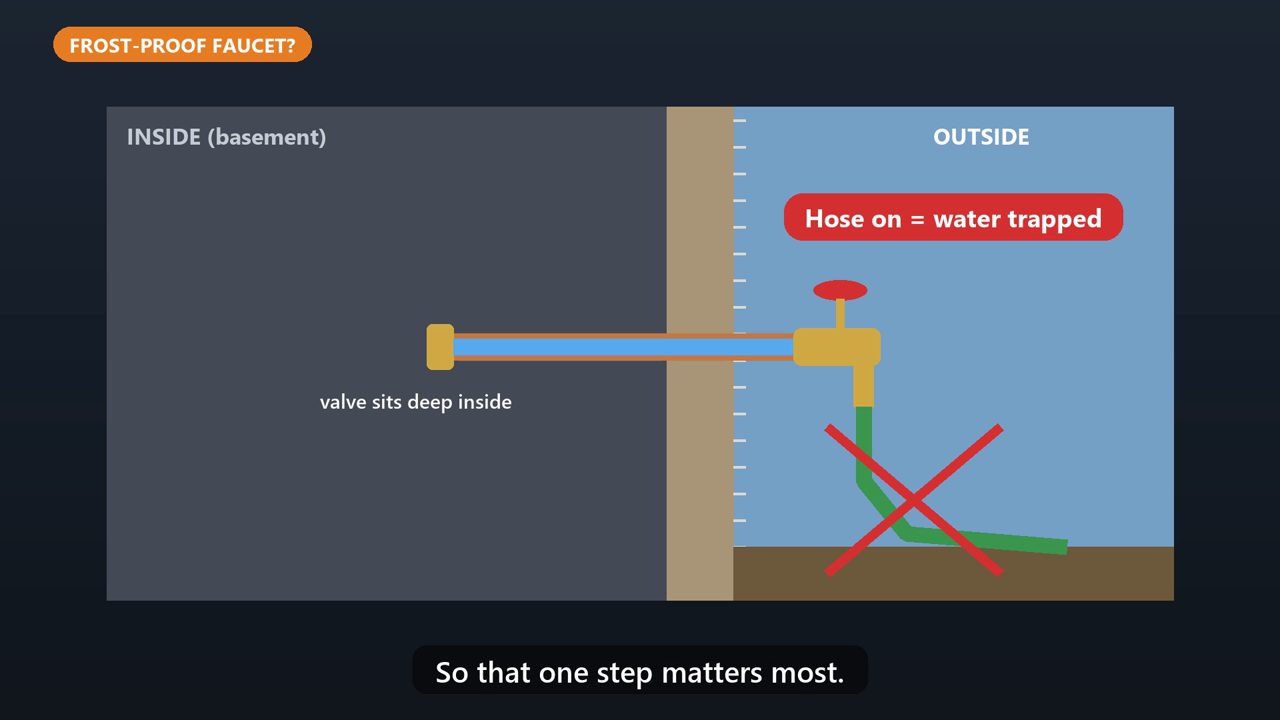
Some homes have frost-proof faucets, which drain themselves when you shut them off. But only if the hose is removed. If you leave the hose attached, the water can't drain out. So that one step matters most.
5. Extra Protection
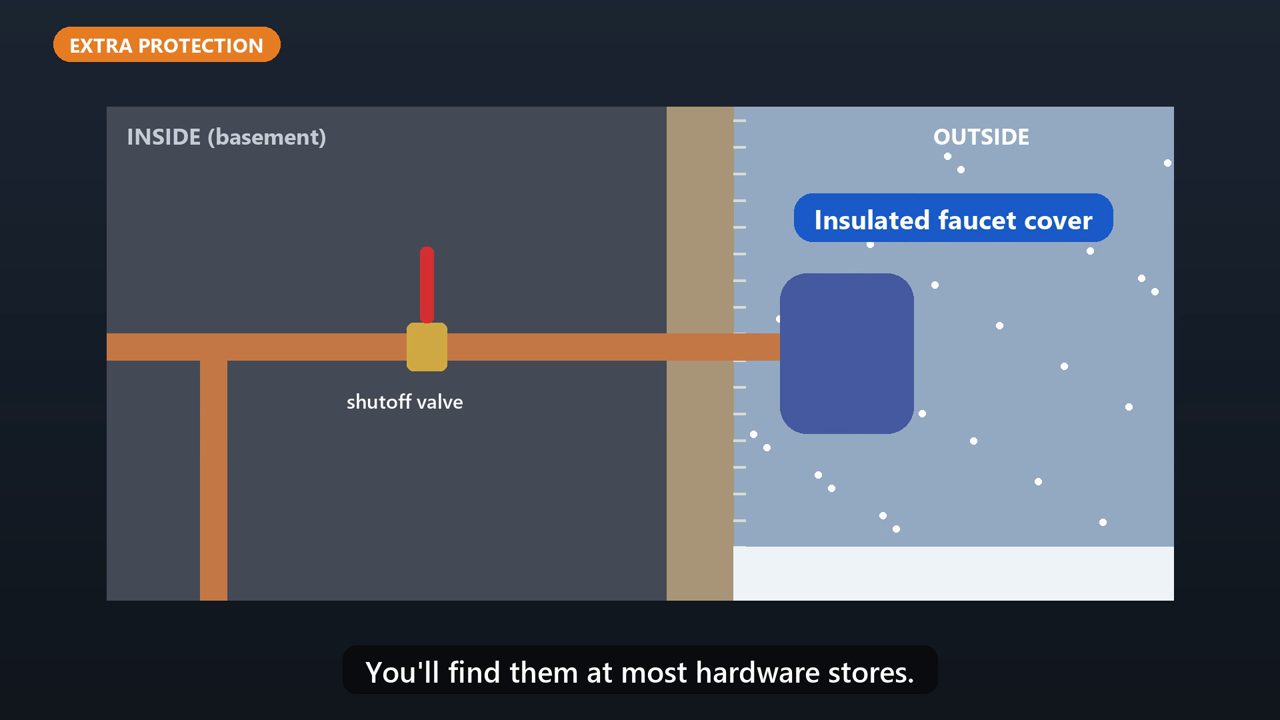
For extra protection, you can put an insulated cover over the faucet. You'll find them at most hardware stores.
Tools that make this easier
Simple Google Sheets + Excel tools from WiscHaven. Buy once, no subscription.




Sources
Checked against the official sources above. Steps can change as apps update - tell us if something looks different: wischavenindustries@gmail.com